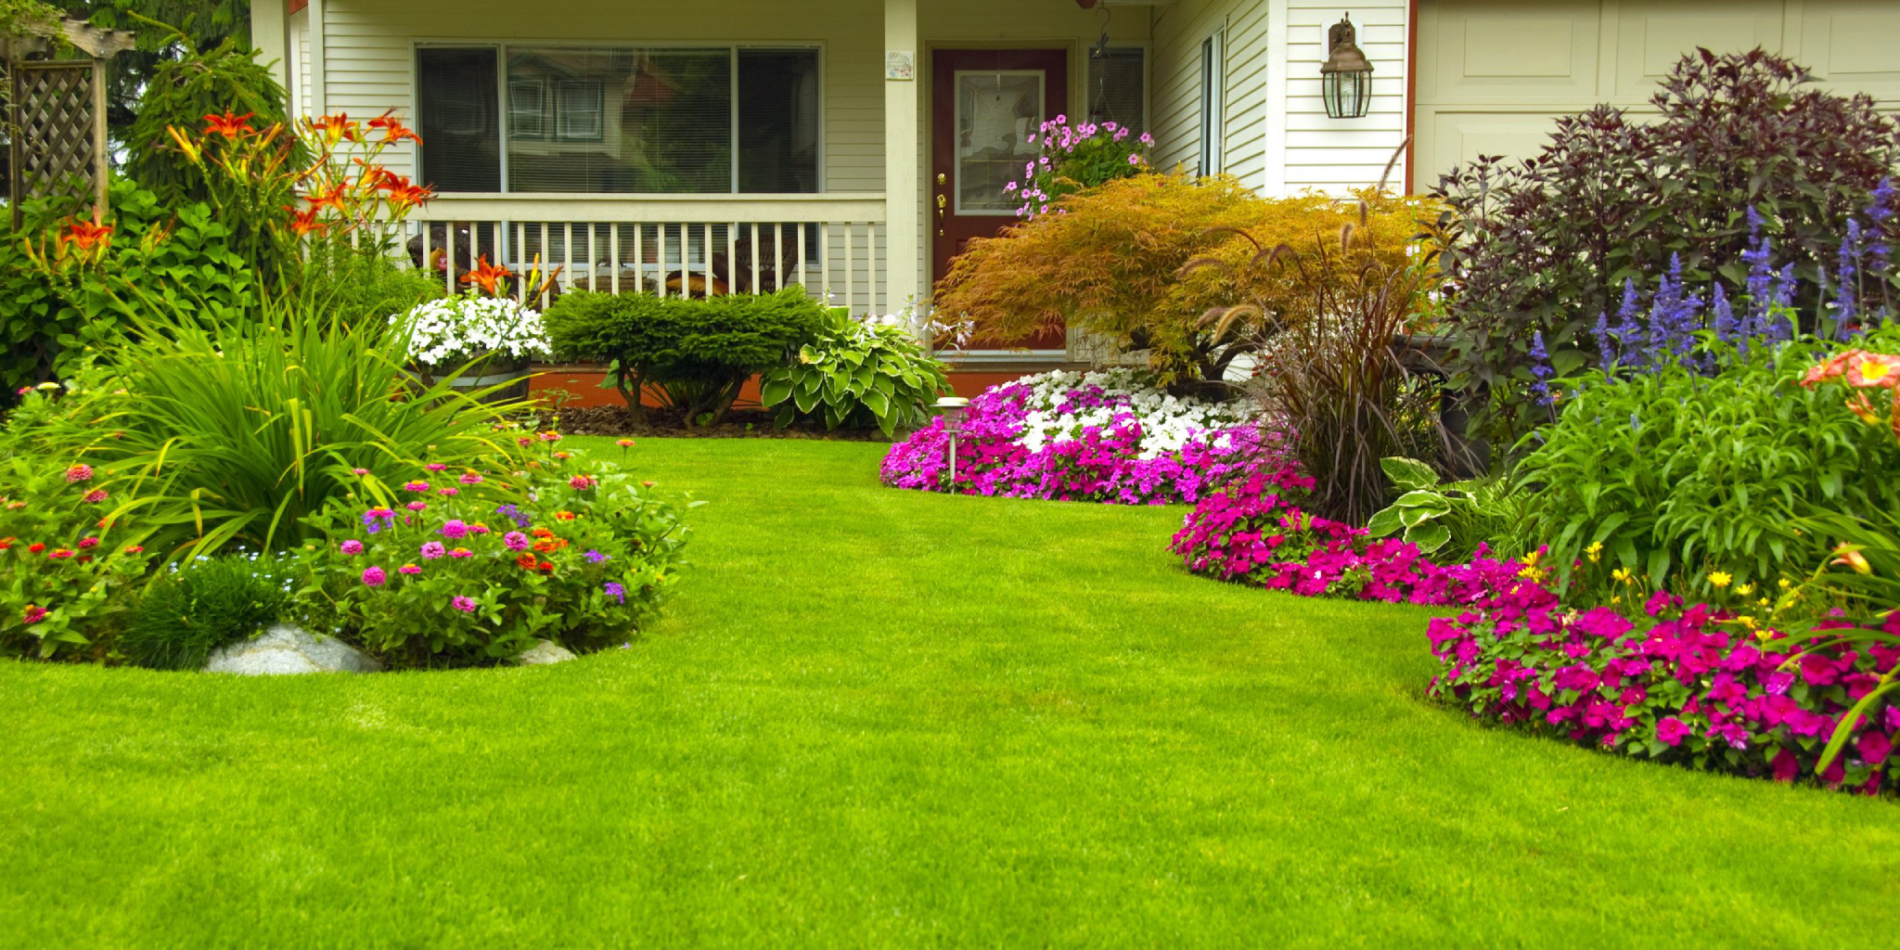
Introduction: Are you ready to breathe new life into your outdoor space? Installing new beds and plants is a fantastic way to refresh your landscape and add color, texture, and interest to your yard. In this guide, we’ll explore the process of bed and plant installation, from planning and preparation to selecting the perfect specimens and putting them in the ground. Get ready to roll up your sleeves and transform your landscape into a stunning showcase of natural beauty!

Planning Your New Beds: Before you start digging, take some time to plan out your new beds. Consider factors such as sun exposure, soil quality, and drainage to determine the best location for your plants. Think about the overall design aesthetic you want to achieve, whether it’s a formal garden with structured beds or a more naturalistic landscape with meandering pathways.
Choosing the Right Plants: Selecting the right plants for your new beds is crucial for their long-term success. Consider factors such as your climate, soil type, and maintenance preferences when choosing specimens. Opt for a mix of perennials, annuals, shrubs, and trees to create visual interest and ensure year-round color and texture in your landscape.
Preparing the Soil: Healthy soil is the foundation of a thriving garden, so take the time to prepare your planting area before installing new beds. Start by removing any existing vegetation and weeds, then loosen the soil with a garden fork or tiller to improve drainage and aeration. Amend the soil with organic matter such as compost or aged manure to provide essential nutrients for your plants.
Installing Your New Beds: Once the soil is prepared, it’s time to install your new beds. Use a garden hose or rope to outline the shape and size of your beds, then dig a trench along the perimeter to define the edges. Loosen the soil in the bed area and add a layer of mulch to help retain moisture and suppress weeds. Arrange your plants according to your design plan, spacing them appropriately to allow for future growth.
Planting Your Specimens: When planting your new specimens, handle them with care to avoid damaging the roots. Dig planting holes that are slightly wider and deeper than the root ball of each plant, then gently tease out any tangled roots before placing them in the hole. Backfill with soil, firming it gently around the roots, and water thoroughly to settle the soil and remove any air pockets.
Caring for Your New Plants: After planting, provide your new specimens with the care they need to establish and thrive. Water regularly, especially during the first growing season, to ensure that the roots remain consistently moist. Mulch around the base of plants to help retain moisture, regulate soil temperature, and suppress weeds. Monitor for signs of stress or disease and address any issues promptly to prevent further damage.
Conclusion: By following these tips for new bed and plant installation, you can create a stunning landscape that enhances the beauty and value of your property. With careful planning, proper soil preparation, and thoughtful plant selection, you’ll be well on your way to enjoying a vibrant and thriving garden that brings you joy for years to come. So roll up your sleeves and get ready to transform your landscape—it’s time to make your gardening dreams a reality!
Last modified: April 30, 2024


